


Product |
Cable & Wire
|
Dual-female Jumper Wire
| 4 Pin PH2.0 Plug Connector Wire--200mm
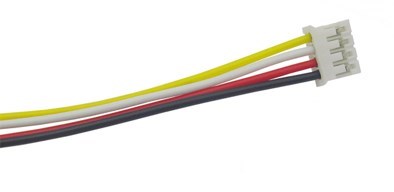
4 Pin PH2.0 Plug Connector Wire--200mm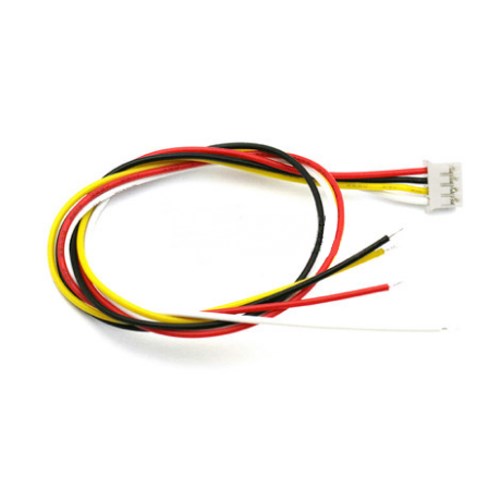
Product Name: RC connector wire; Cable type: 26AWG
Connector Type: Plug 4 Pin JST
Pitch-pin: 2.00 mm
Cable Length: 20cm / 7.9 "
Main material: Plastic
Exterior Color: White、Yellow、Black、Red
Note:Light shooting and different displays may cause the color of the item in the picture a little different from the real thing. The measurement allowed error is +/- 1-3 cm.
Related Items
-
 US$0.50
 -
 US$0.60
Categories
Newsletter
Join our newsletter today, to get latest product information and promotion code.
 |
 |
|

|