


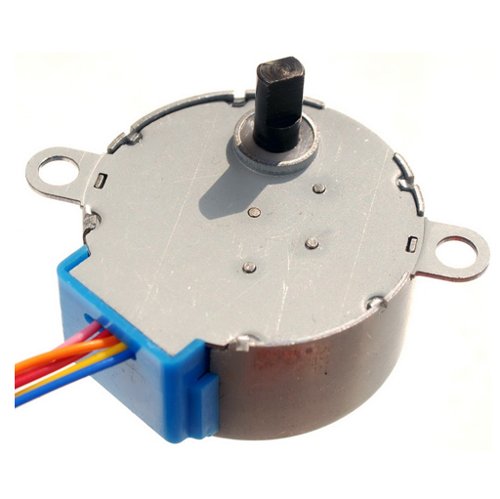
35BYJ46 Stepper Motor 24V
Description :
Mainly used in Air Conditioner Louver , Small Cooling/Heating Fan etc., Stable and all technic parameters are qualified for national electronic standard of SJ/T10689-95.
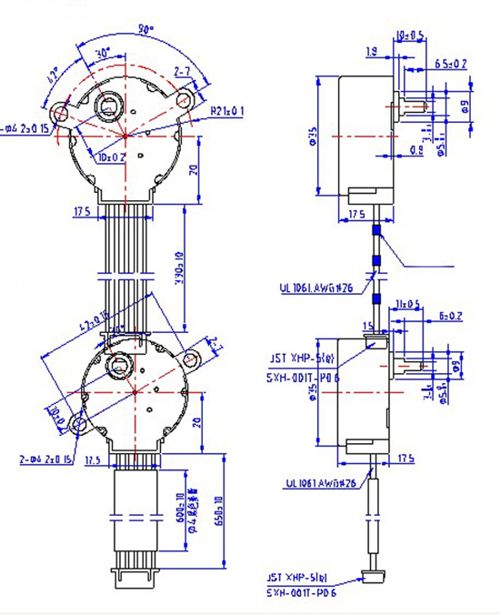
Electronic Parameters :
Rated voltage : 24VDC
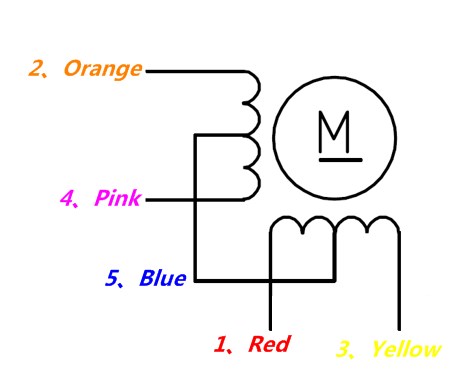
Number of Phase : 4
Moderating Ratio : 1/43.75
Step Angle : 7.5°/43.75
DC Resistance : 110~150Ω ±7% (25℃)
Operation Frequency : 100 (PPS)
Idle In-traction Frequency : ≥350 (PPS)
Idle Out-traction Frequency : ≥600 (PPS)
Pull-in Torque : ≥147 (mN.m)
Detent Torque : ≥78.4 (mN.m)
Insulated Resistance : ≥50MΩ(500V)
Dielectric Strength : 600V.AC/1mA/1s
Insulation Class : A
Rise in Temperature : ≤45K
Noise : ≤40dB
Model : 35BYJ-46
.jpg)

Join our newsletter today, to get latest product information and promotion code.
 |
 |
|

|