


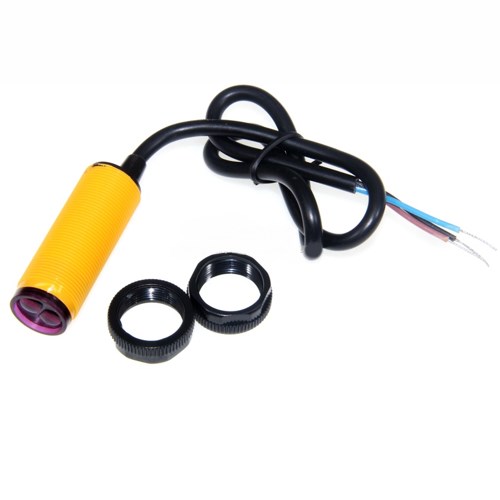
Diffuse Reflective Infrared Photoelectricity Sensor

Specifications:
Case Material: Plastic
Voltage: 5VDC
Current: 100mA
Distance: 3-80CM
Diameter: 17MM
Sensor Length: 45MM
Lead Length: 45CM
Technical Parameters:
The output current DC / SCR / Relay Control output: 100mA/5V supply
Current consumption DC <25mA
Response time <2ms
Point angle: ≤ 15 °, the effective distance adjustable 3-80CM
The detection of objects: transparent or opaque
The working environment temperature: -25 ℃ ~ +55 ℃
The standard sensing object: less sunlight 10000LX less incandescent 3000LX
It is very interesting Electronic Brick Module
This module can be used with Arduino Special Sensor Shield by digital sensor cable.
You can do some simple design around it, this brick also support “plug and play”.
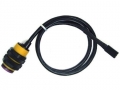
The transmitter port of Arduino Bijection Infrared Switch is used to transmit the signal.
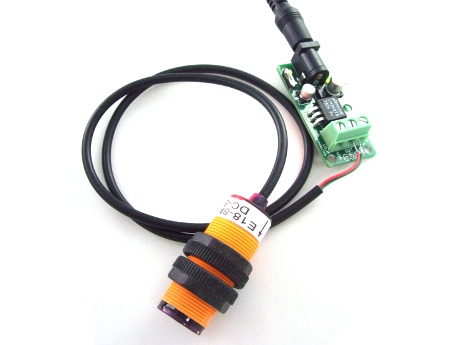
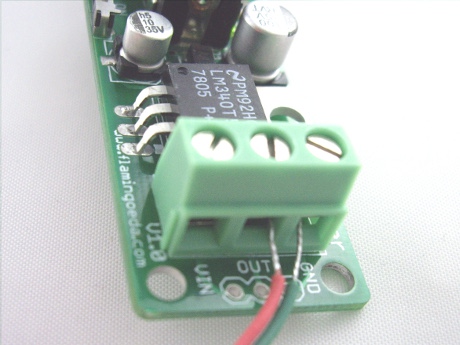
As the transmitter module have two interfaces port:
The green interface connect with GND
The red interface connect with 5V power supply
So we can use the 5V power supply to power this module.
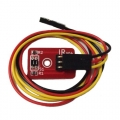
As the receiver module have three interfaces port:
The green interface connect with GND
The red interface connect with 5V power supply
The yellow interface connected TTL level signal of the microcontroller
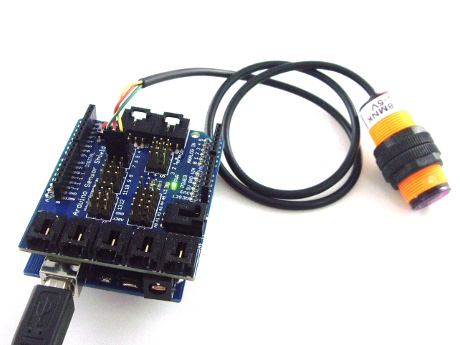
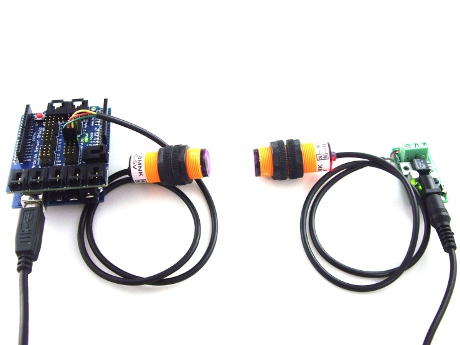
Through the signal reading from infrared receiver module is different , Arduino will turn on or off the indication LED of No.13 I/O pin of Arduino.
Test Code :
int ledPin = 13;
int switchPin = 7;
int value = 0;
void setup() {
pinMode(switchPin, INPUT);
pinMode(ledPin, OUTPUT);
Serial.begin(9600);
}
void loop() {
value = digitalRead(switchPin);
if (HIGH == value) {
digitalWrite(ledPin, HIGH);
} else {
digitalWrite(ledPin, LOW);
}
//delay(100);
}
Related Items
-
 US$3.58
 -
 US$9.58
 -
 US$9.58
Categories
Newsletter
Join our newsletter today, to get latest product information and promotion code.
 |
 |
|

|